HOW TO MAKE WATER SPLASH BRUSH IN PHOTOSHOP
If you wonder on how to make cool brushes such as water splash brush in photoshop, then you will learned it right away with quick simple steps below:
Things that you will need:
1. Photoshop
2. Water splash image
Steps:
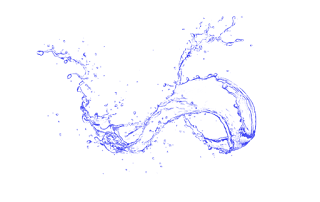
1. Search for water splash image on google or any search engine, for example:
2. After choosing the water splash image, right click on the image and click "Copy Image".
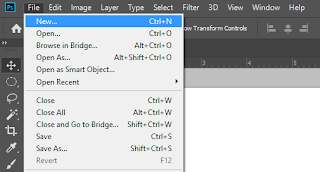
3. Open your photoshop and click "New" or using the shortcut "Ctrl+N".
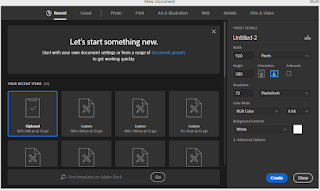
4. It will automatically create the canvas size the same as the copy image of water splash that we copy before, proceed by clicking "Create".
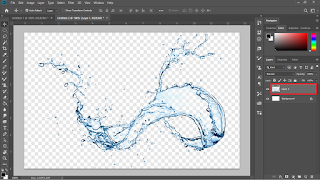
5. After that you will be redirected to blank white canvas for the respective image canvas size and just press Ctrl+V and you should have the image on the canvas like below image.
6. If you look closely the background of the image, it has white and grey boxes, we need to get rid of that by adjusting the level of the image. To do that, first make sure that you already click on the right layer of the image. and then Click "Image" -> "Adjustments" -> "Levels...".
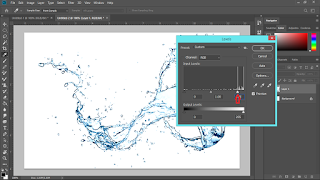
7. You will see this Levels Option box
8. After that you need to adjust the cursor until you see the grey box of the background disappear into white, you can also try to adjust the other 2 cursor to adjust the image brush to your liking.
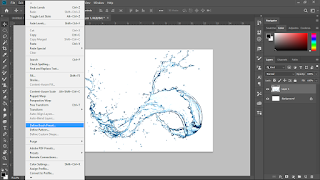
9. Now we can make our water splash brush by clicking "Edit" -> "Define Brush Preset...".
11. Done! now you have your own cool water splash brush, you can resize your brush and change the color of your brush to make cool water splash effect!.
#Howtomakewatersplashbrushinphotoshop #Howtocreatewatersplashbrushinphotoshop

